Coconut Magic: Island-Style Granola from Little Polynesian Resort
At Little Polynesian Resort, we’re committed to more than luxury and romance. We want every guest to enjoy the health and wellness benefits of the Cook Islands lifestyle.
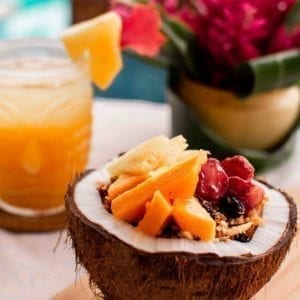
Here in paradise, nature always lends a helping hand. Coconut palms thrive across Rarotonga, earning the name Tree of Life. We embrace this versatile, nutrient-rich fruit in many ways to enhance your stay.
One delicious example is our artisan-made, crunchy granola. Roasted with coconut oil and sweetened with coconut nectar, it delivers a light, crisp texture and tropical flavour. While you can’t always be here in person, Chef Carlo has shared the recipe so you can bring a taste of the islands into your own kitchen.
Ingredients
250ml coconut oil
200ml coconut nectar
750g jumbo rolled oats
250g sliced almonds
250g cashew nuts
200g pumpkin seeds
200g sunfower seeds
250g desiccated coconut
Optional: raisins or dried fruit
Method
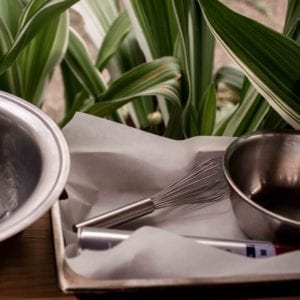
1. Prepare the Oven
Arrange a rack in the middle of the oven and heat it to 300°F (150°C). Line a rimmed baking sheet with parchment paper.
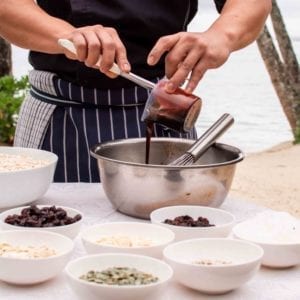
2. Mix the Base
In a large bowl, whisk the coconut oil and coconut nectar until smooth.
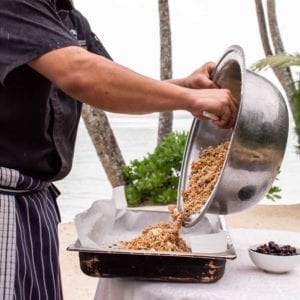
3. Combine and Spread
Add oats, almonds, cashews, pumpkin seeds, sunflower seeds, and coconut. Mix well, then spread evenly on the baking sheet. Press lightly with a spatula if it looks clumpy.
4. Bake to Golden Perfection
Bake for about 25 minutes, tossing halfway through. The granola should look golden brown with toasted nuts. Don’t worry if it feels soft when hot—it crisps up as it cools.
5. Finish with Fruit
Place the tray on a wire rack. While still warm, sprinkle raisins or dried fruit on top. For chunky clusters, press the granola down before it cools.
6. Store and Enjoy
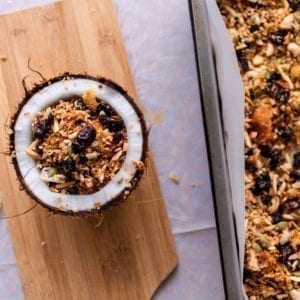
Cool completely, then transfer to an airtight container. Your homemade island-style granola is now ready to enjoy for breakfast, snacks, or a healthy topping.
A Taste of Paradise at Home
This toasted granola reflects the flavours and wellness traditions of the Cook Islands. Next time you crave a taste of paradise, make this recipe and let Little Polynesian bring tropical sunshine to your table.